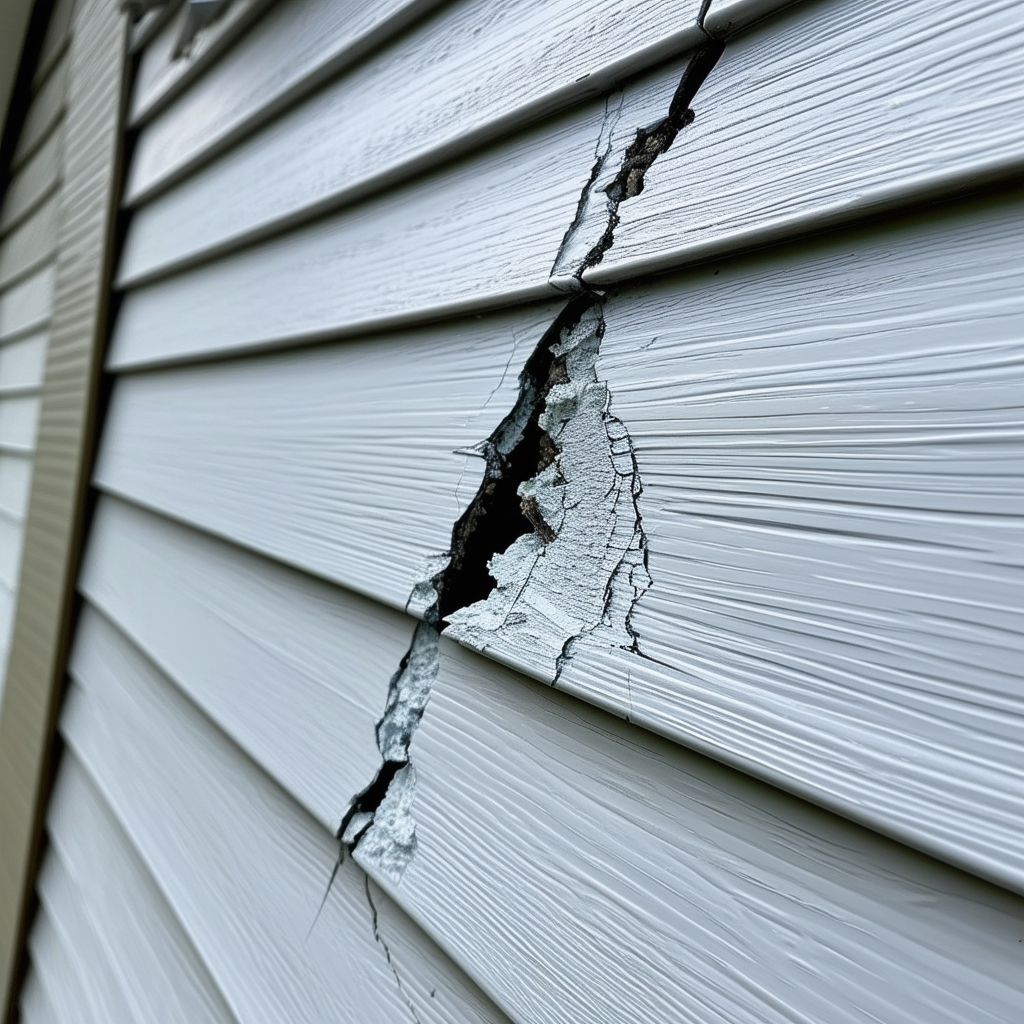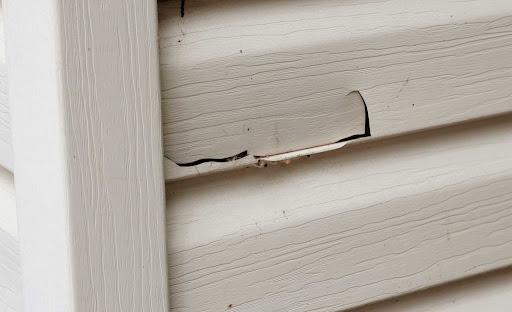
Discover the secrets to repairing your cracked vinyl siding and restoring your home’s exterior to its former glory.
Understanding the Causes of Cracked Vinyl Siding
Cracked vinyl siding is a common issue that homeowners face, and understanding the root causes is the first step toward effective repair. Typically, cracks can occur due to extreme weather conditions such as heavy winds, hail, or fluctuating temperatures. Over time, the material can become brittle, especially in colder climates, making it more susceptible to cracking.
Another cause of cracked vinyl siding can be improper installation. If the siding was nailed too tightly, it can restrict the natural expansion and contraction of the material, leading to cracks. Additionally, physical impacts, such as a stray baseball or a lawnmower throwing debris, can also result in visible damage.
Assessing the Extent of Damage: When to Repair or Replace
Before jumping into repairs, it’s crucial to assess the extent of the damage. If the cracks are localized and small, repairing the siding is often a viable option. However, if you notice widespread damage or multiple cracks, it might be more practical to replace the affected sections or even consider a full replacement.
Take a close look at the surrounding area for any signs of underlying issues such as water damage or mold, which might necessitate more extensive repairs. In some cases, consulting a professional can provide a clearer picture of the extent of the damage and the best course of action.
Step-by-Step Guide to Repairing Cracked Vinyl Siding
Repairing cracked vinyl siding can be a straightforward process if done correctly. Here’s a step-by-step guide to help you through it:
1. **Clean the Area**: Start by cleaning the damaged area with soap and water to remove any dirt and debris.
2. **Prepare the Surface**: Use sandpaper to smooth out the edges of the crack, which will help the patching material adhere better.
3. **Apply a Patch**: For small cracks, a vinyl caulk or adhesive can be applied to fill the gap. For larger cracks, you might need to use a piece of vinyl siding cut to fit the damaged area.
4. **Secure the Patch**: Use nails or screws to secure the patch in place. Make sure not to over-tighten, allowing for natural expansion and contraction.
5. **Paint if Necessary**: If the patch stands out, you can paint it to match the rest of the siding.
Tools and Materials You’ll Need for the Repair
Having the right tools and materials on hand can make the repair process much smoother. Here’s a list of what you’ll need:
– Vinyl caulk or adhesive
– Sandpaper
– Utility knife or a pair of tin snips
– Replacement vinyl siding (if needed)
– Nails or screws
– Hammer or screwdriver
– Paint (optional, for color matching)
Make sure to wear protective gloves and eyewear to ensure your safety during the repair process.
Preventing Future Cracks: Maintenance Tips and Tricks
Preventing future cracks in your vinyl siding involves regular maintenance and a few proactive measures. Here are some tips to keep your siding in top condition:
– **Regular Inspections**: Periodically inspect your siding for any signs of damage, especially after severe weather events.
– **Proper Installation**: Ensure that any new siding is installed correctly, allowing for natural expansion and contraction.
– **Trim Nearby Vegetation**: Keep trees and shrubs trimmed away from the siding to prevent physical damage from branches.
– **Clean Regularly**: Wash your siding annually to remove dirt, mold, and mildew, which can weaken the material over time.
By following these maintenance tips, you can extend the life of your vinyl siding and minimize the risk of cracks and other damage.

